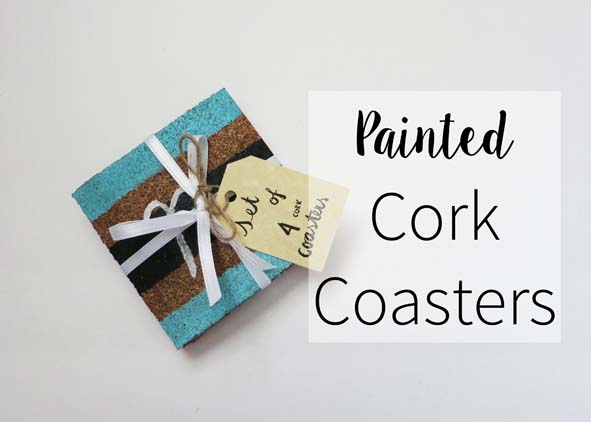
If you're like me, caught up with work, you still have some presents left to get. You might be needing a little extra something to add on to your gift, so here's a quick DIY idea!
Coasters are making their second appearance on my blog. I think they're really cute and are nice just to have on your desk or the coffee table. After scoring Pinterest for DIY gift ideas, I stumbled upon cork coasters and it was perfect! These coasters can be catered to the receiver's interests and the color scheme is up to you!
Things You'll Need
- Cork Sheets or Pre-Cut Cork (Circle or Squares)
- Acrylic Paints
- Painter's Tape
- Mod Podge (I used the Glossy one)
1. Cut out cork squares.
I had a huge cork sheet I got from Michael's, so I had to cut out the squares. The squares were 4 inches by 4 inches, but if you can find the precut squares or circles, feel free to use that. It would make things quicker.
I had a huge cork sheet I got from Michael's, so I had to cut out the squares. The squares were 4 inches by 4 inches, but if you can find the precut squares or circles, feel free to use that. It would make things quicker.
2. Tape off the areas you don't want to paint. Get creative!
If you want to free hand, then you can skip this step. I wanted to do a color blocking technique for two of them.
If you want to free hand, then you can skip this step. I wanted to do a color blocking technique for two of them.
3. Paint the cork. Alternate colors as needed.
Now you can mix paints and paint directly on the cork. You might need another coat. I also painted on an initial and did an ombre effect. You can paint anything you want on it!
4. Lastly, seal everything with Mod Podge so the paint won't come off.
Ta-da! A quick DIY that can be tailored to yourself or whoever you want to give it to. It makes a nice house-warming gift or any home decor lovers (aka me). I will be packing this in a pack of 4, but you can do more. I hope you found this tutorial helpful!


No comments :
Post a Comment